Deck Chair Cushion Covers- July 2015
This summer I got creative and designed and sewed myself some deck chair cushion covers.
 |
| First 2 chair cushion covers |
Our deck chairs are 10 years old and the cushions are still in great shape, but they look very faded. Last summer, we went looking for new cushions to replace them with, but the only ones we could find were either the wrong size or were very ugly!
In Fabricland one day, I found some outdoor fabric that I really like. How hard can it be, I thought, to make a simple casing for 4 chair cushions. and maybe the long lounge chair, too. I measured the length width and depth of the cushions, multiplied by 4, added in the dimensions of the lounge chair then rounded up generously in case I had miscalculated.
Luckily the fabric that I liked best (a flashy orange and beige floral design) was on sale half price! There you go! Serendipidy! It was meant to be! I bought 9 meters of the fabric, some tough orange outdoor thread to go with it and 2 zippers to start with.
The summer got away on me and I didn't get a chance to start them (Plus my Lone Star quilt was taking up all my quilting time!)
 |
| Cutting the big pieces of fabric |
This summer 2015, I was determined that I would get it done! I dug out the fabric in June and started cutting the first cover pieces. Basically you are sewing a 6 sided "box" to enclose the cushions. I measured all the sides of the cushions again and added an extra inch so the cover wouldn't be too tight.
I needed 2 pieces 20 1/2 " x 44" inches each for the front and the back of the first cushion, plus 2 side pieces 4" X 44" inches long, and the top and bottom pieces, 4" x 20 1/2".
What about the zipper; or should I make over lapping flaps like my pillow sham backs? I liked the zipper idea best- where should it be placed, I wondered? Definitely it should go underneath the cushion so it didn't show (underneath the seat part.)
I cut the underneath piece an inch longer then the top piece so I could put in a zipper and have half inch seams attaching it. I sewed the front piece to the left side using a French seam so there would be no raw edges. Then I worked on the back/underneath side and put in the zipper. (Piece of cake with the nice zipper foot I have with my Janome machine!)
 |
| Underside of cushion with beige zipper |
The back of my patio cushions have a kind of upside down pocket the width of the cushion where it fits onto the back of the chair (behind your head). I better make those, too, I thought.
I cut a rectangle 6 1/2 inches wide by 20 1/2, then sewed under the seams on all 4 sides. I sewed that on the back, 3 inches down from the top.
Next I added the right side piece to that and placed it on the cushion (which I had brought inside) to make sure it would fit. The bottom and the right side piece mirrored the top and the left side piece. Yes, it was going to work! I sewed the top end piece onto the front part and the bottom end piece to the back.
( I used French seams on the front of the cushion covers only, not the back where it meets the chair. )
It needed a couple of "Y seams" at the top and bottom to finish "the box". I had had lots of practice with sewing "Y seams" with the Lone Star quilt I had recently made, so that wasn't too difficult. I almost forgot to undo the zipper, though in order to turn the whole thing right side out once I was done sewing. Then I fought with the cushion for a bit to pull the cover on. I zipped up the zipper and voila, it was done!
I was so pleased with how it looked! Wow, only 3 more chairs to go ( I wasn't counting the lounge chair at the point.)
Bit by bit, seam by seam, I cut out and sewed a second, then a third deck chair cover. I made a few mistakes and had to rip out some long seams here and there, but finally the 4th one was done! Yay!
I took a few weeks break before I started the lounge chair. I had bought a huge spool of orange outdoor thread but it was nearly gone.
We made a trip to Red Deer Fabricland and they were out of outdoor thread! Yikes!
I ended up buying a really thick beige thread to use for the lounge chair. I measured that all up and yes, I had more than enough fabric left for that cover! The "Quilting goddesses" were definitely smiling down on me! )
The lounge pieces had to be cut 20 1/2 wide by 81 long. Instead of cutting 6 separate piece I decided to cut the front/ top and the right side all in one, make a fake French seam 4 inches in from the side to create the side piece. Then I did the same for the bottom/ and the left side. Oops! that wouldn't work because I need the bottom separate to put the zipper into it. In the end it all turned out well and before I sewed the last part together I decided to sew a couple of velcro strips which would attach the lounge cushion to the back of the chair.
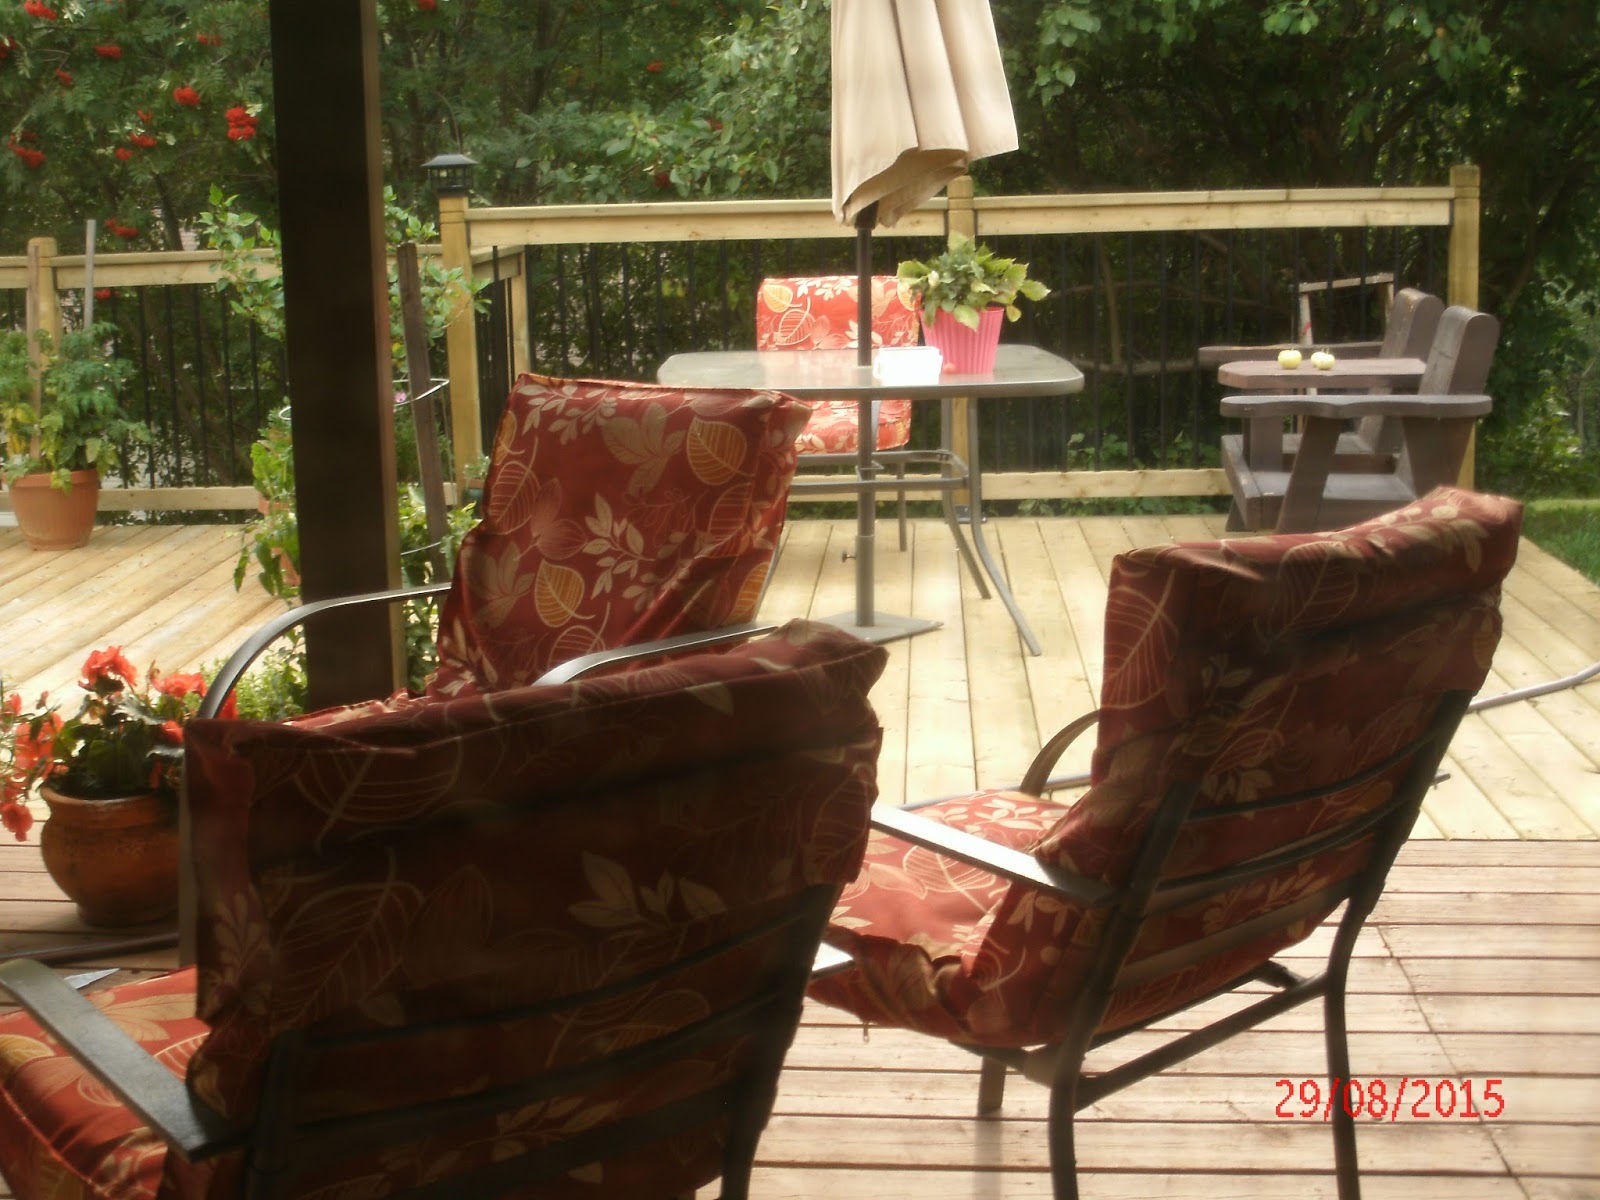
I am really pleased with how they look! It sure does spruce up the deck chairs and they look better than new! :)
Happy quilting!