Monday, January 21, 2013

Pillow Cases, Diaper Change Pad and Scrappy Flannel Blanket

I found a really cute kit for making a pillowcase at our local quilt shop on Main Street. The fabric had a turquoise background with little fairies, little girls and flowers all over it. It jumped out at me as soon as I saw it and I thought, "Claire"!!!


Our grand babies were not quite a year old and not even using pillows yet, but I thought it might make a good birthday gift for when they DO start using pillows. :)


What fabric should I make Hayden's out of, I thought?  I saw some fabric with dogs on it and I know he loves dogs (He's always following their dog, River around) so I thought it would be perfect. I also bought a dog paw print fabric for the pillow case end.

The directions for making the pillow cases was a little confusing at first, but once I read throughout it a couple of times and tried it, it worked perfectly! You cut the pillow case fabric, the end fabric and the trim and then sew them all together with one seam by rolling the pillowcase fabric around the other two. I know that doesn't make much sense, but if you want the step by step directions, I would be happy to email them to you. :)


Next project, also for the twins' birthday was a new bigger diaper change pad to replace the tiny one I had made for them when they were newborns. This one is about 24 inches wide and 26 inches long. I added the green ribbon to roll it up incase it was being transported in a diaper bag.

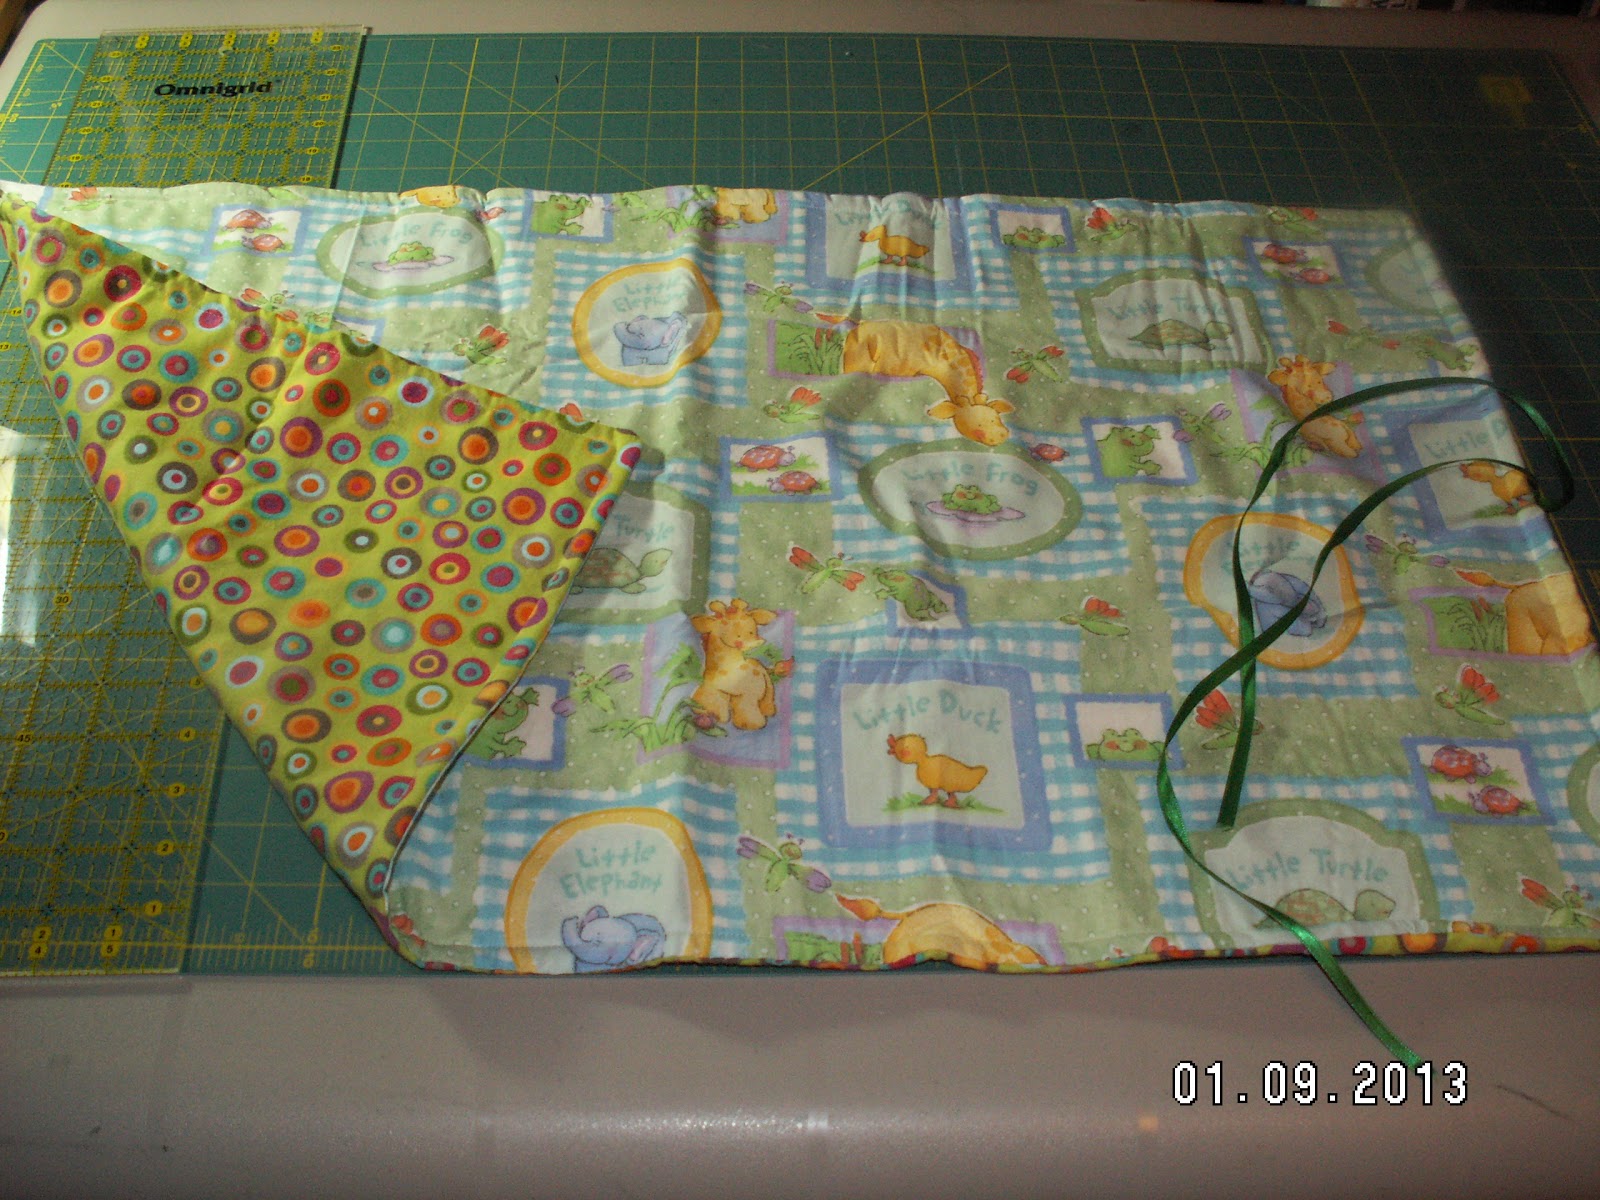
24" X 36" diaper change pad for toddlers: cotton  Duck/ animal fabric with green circles flannelette on back 


Recently, while digging out the flannel  for the change pad, I realized that I had a lot of flannel scraps , rectangles, squares and strips from other projects. I started pulling them out of my leftovers back and putting them together on the floor like a big puzzles. With a little cutting tweaking and rearranging, I was quite pleased to see that they fit together. :)

Why not sew them together and make a memory scrappy flannel quilt top, I thought... so I did!  It is 31 1/2 " wide by 40" long. It just so happens that I have a big piece of turquoise floral flannel for the back.


Back fabric for Scrappy Memory flannel quilt

Do I put a batting layer in the middle or just leave it as a light 2 layers of flannel quilt????


Pink Fairy Quilt Completed and Mailed

The pink fairy quilt was finished a week or so ago and mailed to the tiny little recipient who arrived on December 30.


I added the 1 inch white inner border and the 3 inch outer border of pink, white and brown hearts.  The cpmpleted quilt top measured 42" X 42".   Hmmmm.... not such a good idea since most fabrics are only that wide and in order to have a few extra inches for the quilting, that could be a problem.

I thought a piece of pink flannel might work so I bought a piece of pink tone-on-tone flannel with I thought would be wide enough. After washing it, I discovered it either had shrunk a whole lot, or it really wasn't 44 inches wide to begin with as the saleswoman had told me.  Back to the drawing board!

I had some more heart fabric left, the same as the border, but the piece was only 35 1/2 inches (42 inches wide). I went back to where I had bought it hoping to get a bigger piece but, of course, they didn't have any more!  Dilemma!

I bought some solid pink fabric (same tone as in the quilt top) and decided to make a 3 inch pink solid border around the heart fabric for the back. (No photo unfortunately... :(

I pinned the layers (quilt top, inner batting and pieced back fabric) together and then started quilting it.
I machine quilted 'in the ditch' around the blocks and then all around the inside of the white border.
After that I cut out 3 little cardboard hearts and used them as templates to draw on the outer border with my erasable/ disappearing pen spacing them about 1 1/2 inches apart.

I put my free motion foot on my machine and stitched around the left sides of the hearts joining each one to the next as I went along.  When I finished one side border, I stitched the right sides of the hearts.
It doesn't show up in the photo, but it turned out quite nicely!


Now for the edging, I thought.  I had planned to make a mock edge, but decided instead, (after accidentally knicking the edge of the back fabric with my cutting blade) on a scrappy edge. I had a lot of 2 1/4 inch strips left from the blocks so I sewed them all together in a long long strip, mixing and matching various pieces and then attaching it to the edge of the quilt. It turned out looking really cute (and I wish I would have remembered to take a photo of the edging...)