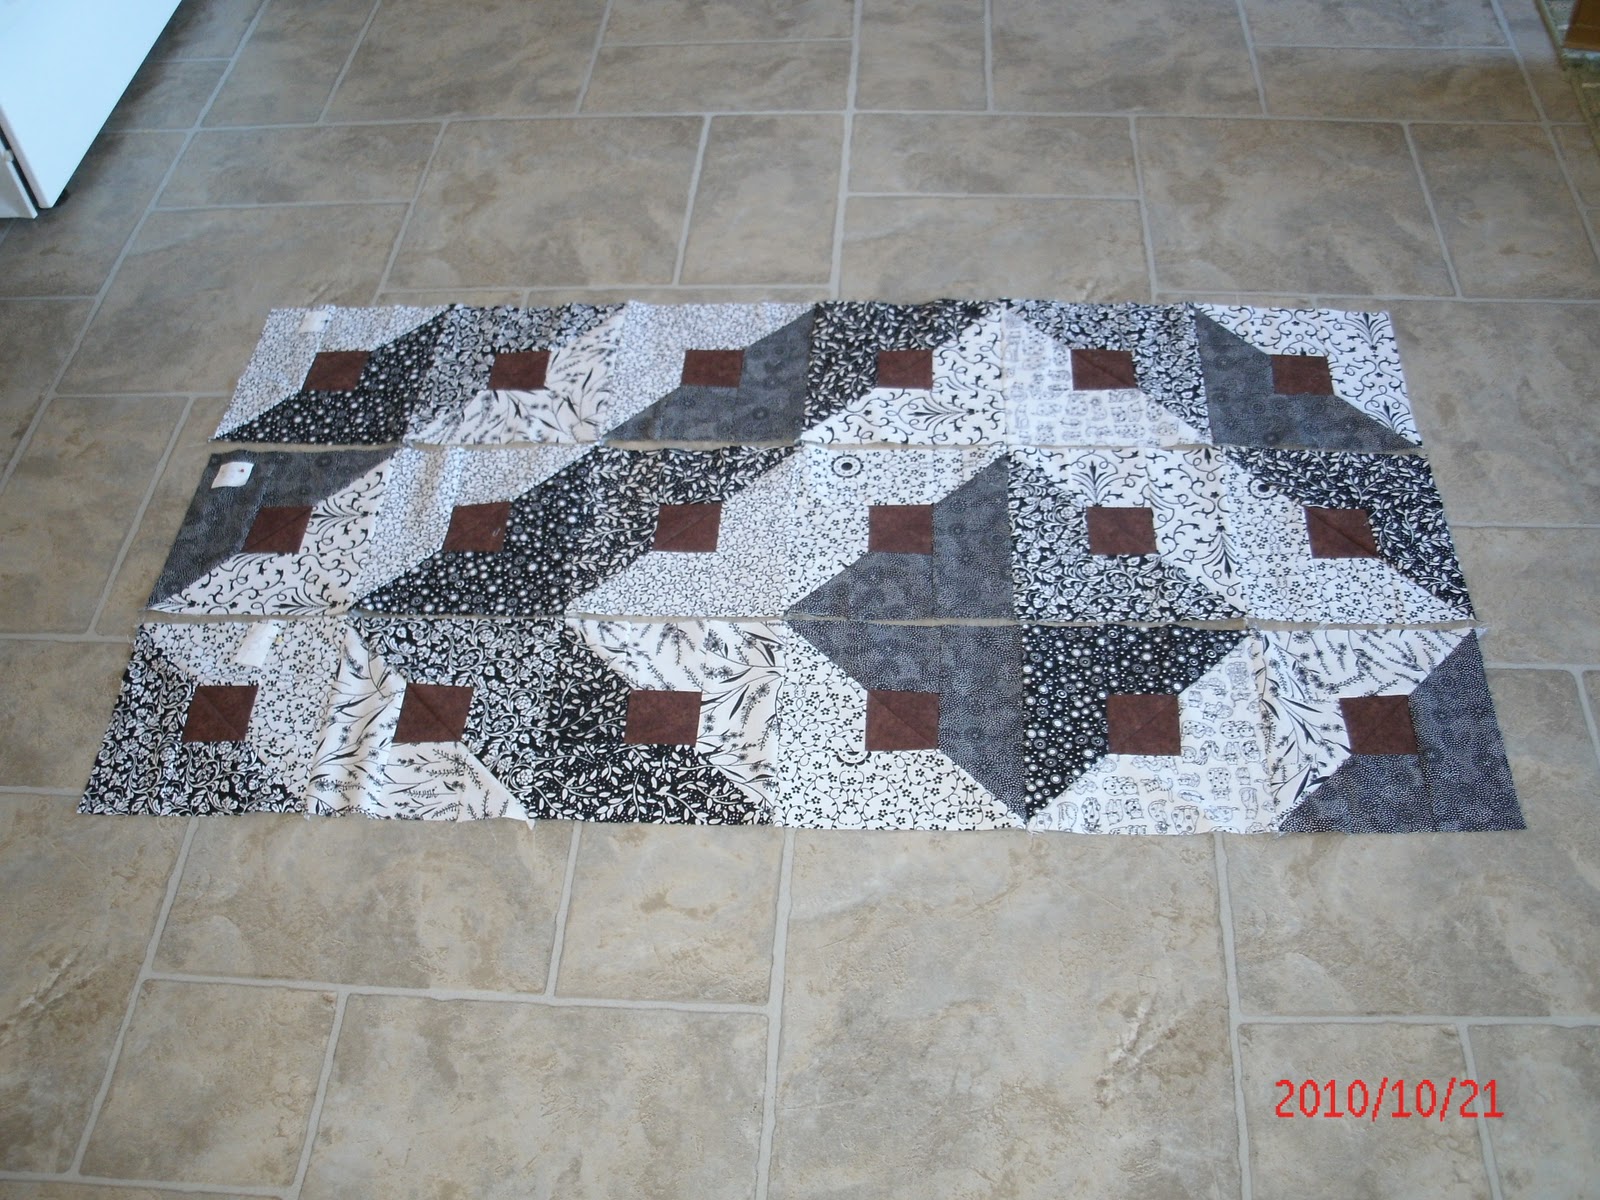
Saturday, October 30, 2010

Scrappy baby quilt

    After you have made a number of quilts, the left over scraps of fabric start to pile up. I usually put all the ones from a quilt together in a zip lock baggie in case I want to make something else out of them. 
Some of the quilted bags I have made, were created from these remnants.

I found another solution to all these scraps! Use them in a 'scrappy' quilt top!
I got this idea from a book called " Start with Scraps" by Carol E Loessel  (Publisher: House of White Birch).


Take all the little pieces and start sewing them together every which way.  Cut a few of them into triangles too and sew them in just to make the thing look interesting. It avoids too many right angles, like the one below. (Although there's really nothing wrong with right angles!)

Then you have to decide what kind of blocks you want to make with your scrappy squares. Personally I like flying geese blocks, (they are easy and rather fun to make , plus they turn out quite well).One of my other favorites is sawtooth stars which use 4 flying geese blocks in the making.


I cut 4 1/2 inch strips out of my 'scrappy fabric' and then cut that into 4 1/2 inch squares. I cut tan rectangles (4 1/2 " x 2 1/2 ") to use and I already had a whole stack of 2 1/2 " tan squares from another project, (my daughter's wedding quilt) which didn't get used. Then I also cut some 2  1/2 " squares out of some blue animal ark fabric leftovers to make the flying geese blocks (which become the star points).


The blue animal ark fabric had previously been fussy cut (some of the pictures were cut out of it for a different quilt) so there were holes here and there, but there was still quite a bit left. After examining it, I saw that I could easily fussy cut 8 or 9 squares, 5 1/2 inches in size. I knew the sawtooth star blocks would be bigger than that, but I had green strips of fabric leftover to add to as sashing around them and also a nice chunk of the same green to cut more strips, as needed. Perfect, I thought to myself!


I measured the width of the leftover green strips of fabric and after doing the math, I thought they would be perfect to use as sashing to increase the size of the blue ark squares to be the same as the scrappy star blocks.  

After  sewing the strips on and measuring the blue ark blocks, I realized I had not made the strips wide enough after all!  In my calculations, I had forgotten to take into account the 1/4 inch seam allowance on the blue ark block itself so... back to the drawing board.  Seam ripper time! Good thing I had only made 2 blocks.... Less to take apart. 

Luckily I still had a chunk of the same green fabric left over from my last baby quilt !
I ended up cutting a bunch of 2 inch wide strips this time and sewing them onto the blue arks which did the trick!
I made 8 sawtooth star blocks and 8 ark blocks which I arrange on the floor in a number of ways until I was satisfied with how it looked.  


Then I proceeded to sew the block rows together, after evicting one of the cats from the craft/ computer room for distracting me. ( I had sewn the wrong sides of the first 2 blocks together so the ark would have been upside down! ) Sigh! More seam ripping....

Once all 16 blocks were sewn together the quilt top measured 32" X 32". I decided it needed a little border around the outside to finish it off so I used the discarded green strips from my first attempt at sashing the little blue arks. Here is the finished little top, 34" x 34".


I'm debating about maybe putting another wider border around it out of the bubble fabric (in a few of the star blocks), but then it might start to get too big for a baby quilt. Plus I would be using a new piece of fabric.  (My goal was to make the whole thing out of scraps.) So for now, it stays like this. I have no idea what I'll use for the back fabric yet. I have no one in mind for this quilt yet either, so there's no rush. 

And I have so much "scrappy fabric" left over that I'm starting to plan another quilt to use some more of it up. I got another idea from one of the patterns in this book, but again, I'm going to adapt it to my own needs.

But first, I will have to machine quilt my little pinned together, blue and green panda baby quilt  (made and 'sandwiched' in September) to free up some of my quilt pins in order to pin together my newly completed back and white, half and half blocks Christmas quilt (in the last post). See how one thing naturally leads into another?  After those 2 are quilted, I will take another stab at a scrappy quilt. I'm starting to like them a lot!


Labels:

Black & White Paradigm Shift Quilt Completed


Here is the completed black and white 'half/and half' blocks Christmas quilt top. 
The pattern is called "Paradigm Shift"and is from the May/ June 2010 issue of McCalls Quilting magazine pg. 54. 


It has 42  mock log cabin blocks, 8 5/8 inch size with a 2 inch black inner border and a 5 inch wide outer brown & black border. Finished quilt top size: 66' x 75". 


The border looks quite dark in this photo, but the second photo shows the detail. The fabric has a chocolate brown background with black swirls on it. I'm quite pleased by the total effect! This is not a difficult quilt to make, but I think it looks more complicated than it is. 


The next step will be to wash the back fabric, iron it, cut it, and then sew it together to the appropriate size.  The back fabric needs to extend about 3 inches beyond the size of the quilt top on all 4 sides. The batting in the middle should be approximately the same.  If you quilt them with a lot of quilt lines close together ( for instance with 'stippling' ) you may need more. In my experience of quilting most blocks 'in the ditch' ( following the existing seam lines on the blocks) and then free motion quilting the borders, I have found that 3 inches of extra back fabric and batting is sufficient, but then you have to be careful to lay your top, batting and backing down exactly on top of each other when you pin them together.

But before I started on the above part of this quilt, I got the bug to try another baby quilt, this time made up of leftover scraps.....

Black and White 'Paradigm Shift'

Here are the first 3 rows of the back and white blocks sewn together. They look really interesting don't you think?  After working on it for a few more days I finally sewed all seven rows of blocks.
Thankfully I am now wise enough in the ways of quilting to know that one needs to lay the pieces out before sewing the rows together for a final check. And thank heavens I did!

I had not noticed a mistake in block arrangements in the first 3 rows. There are 2 triangles the same which are touching each other.  Can you spot the mistake in the photo below??/
 Look carefully...


So I had to take a couple of blocks apart and switch a row and now I should have no conflicts! :)

See photo below:


Next time I make this quilt pattern, I will have to remember to make 44 blocks instead of 42. It was very difficult arranging these 42 blocks according to the pattern without having the same fabrics touching. With 2 extra blocks to insert as needed, it would have been much easier to arrange them.  (Live and learn...)


Some of the block details


Milo admiring the rows of blocks...
I really like the over all effect and with this arrangement I like how the light and dark parts of the blocks form ever increasing large squares throughout the top.

I have decided that I definitely will use this idea to create a baby quilt, with 2 colors ( not black) and maybe smaller blocks, instead of 8 5/8 inch blocks I would try and make 6 inch finished blocks.
More about that later!


Labels:

Saturday, October 16, 2010

Black and White Christmas quilt

Has it been 3 weeks since my last quilting blog entry?!   But thankfully not that long since my last quilting! LOL!

I started cutting the black and white fabric fabric and sewing together the blocks for the quilt that I'm making a family member for Christmas. (Can't reveal who it is so as not to ruin the surprise.)


Some blocks are made of white on black fabric and some black on white. The centre of each is a 3 1/2 inch chocolate brown square.   Each completed block is 9 1/2 inches square.
After that one of each white print block is pinned together to a black print block, right sides facing and a pencil line is drawn diagonally corner to corner across the block (on the white side so it is easier to see).


Then you sew a quarter inch seam on both sides of the pencil line, and after that, cut along the pencil line and press open. Voila! Now you have 2 blocks that are half and half! These blocks are 9 inches square.


After making 42 blocks like this ( 21 white on black fabric and 21 black on white), they will be arranged into an interesting pattern. Right now I have two thirds of the blocks completed with 14 more blocks to sew.  18 of them are already made into 'half and half' blocks.  This is actually going faster than I had anticipated!  I should be done the quilt in plenty of time for Christmas at this rate!

Future plans: Am starting to think about making a little baby quilt with a similar idea in pink and blue half and half blocks... But maybe somewhat smaller... Instead of using 3 1/2 inch squares and 9 x 3 1/2 inch rectangles to create the blocks, I might try making them from 2 1/2" sq. and 6 1/2 x 2 1/2" rectangles... Hmmmmm...

Also thinking about signing up for a quilting class in town to make a "French Braid" quilt.  Always thought the French Braid quilts look so gorgeous and apparently they are not that hard to do....